SETUP INSTRUCTIONS
Getting Started with the
Ribbon Attendance Tracker
WELCOME, LET'S GET YOU SET UP!
In a few simple steps, we will get you set up with your own Ribbon Attendance Tracker built on Google Sheets.
STEP 1: INSTALL RIBBON TRACKER
Access the Ribbon Tracker in the Google Workspace Marketplace. Click Install.

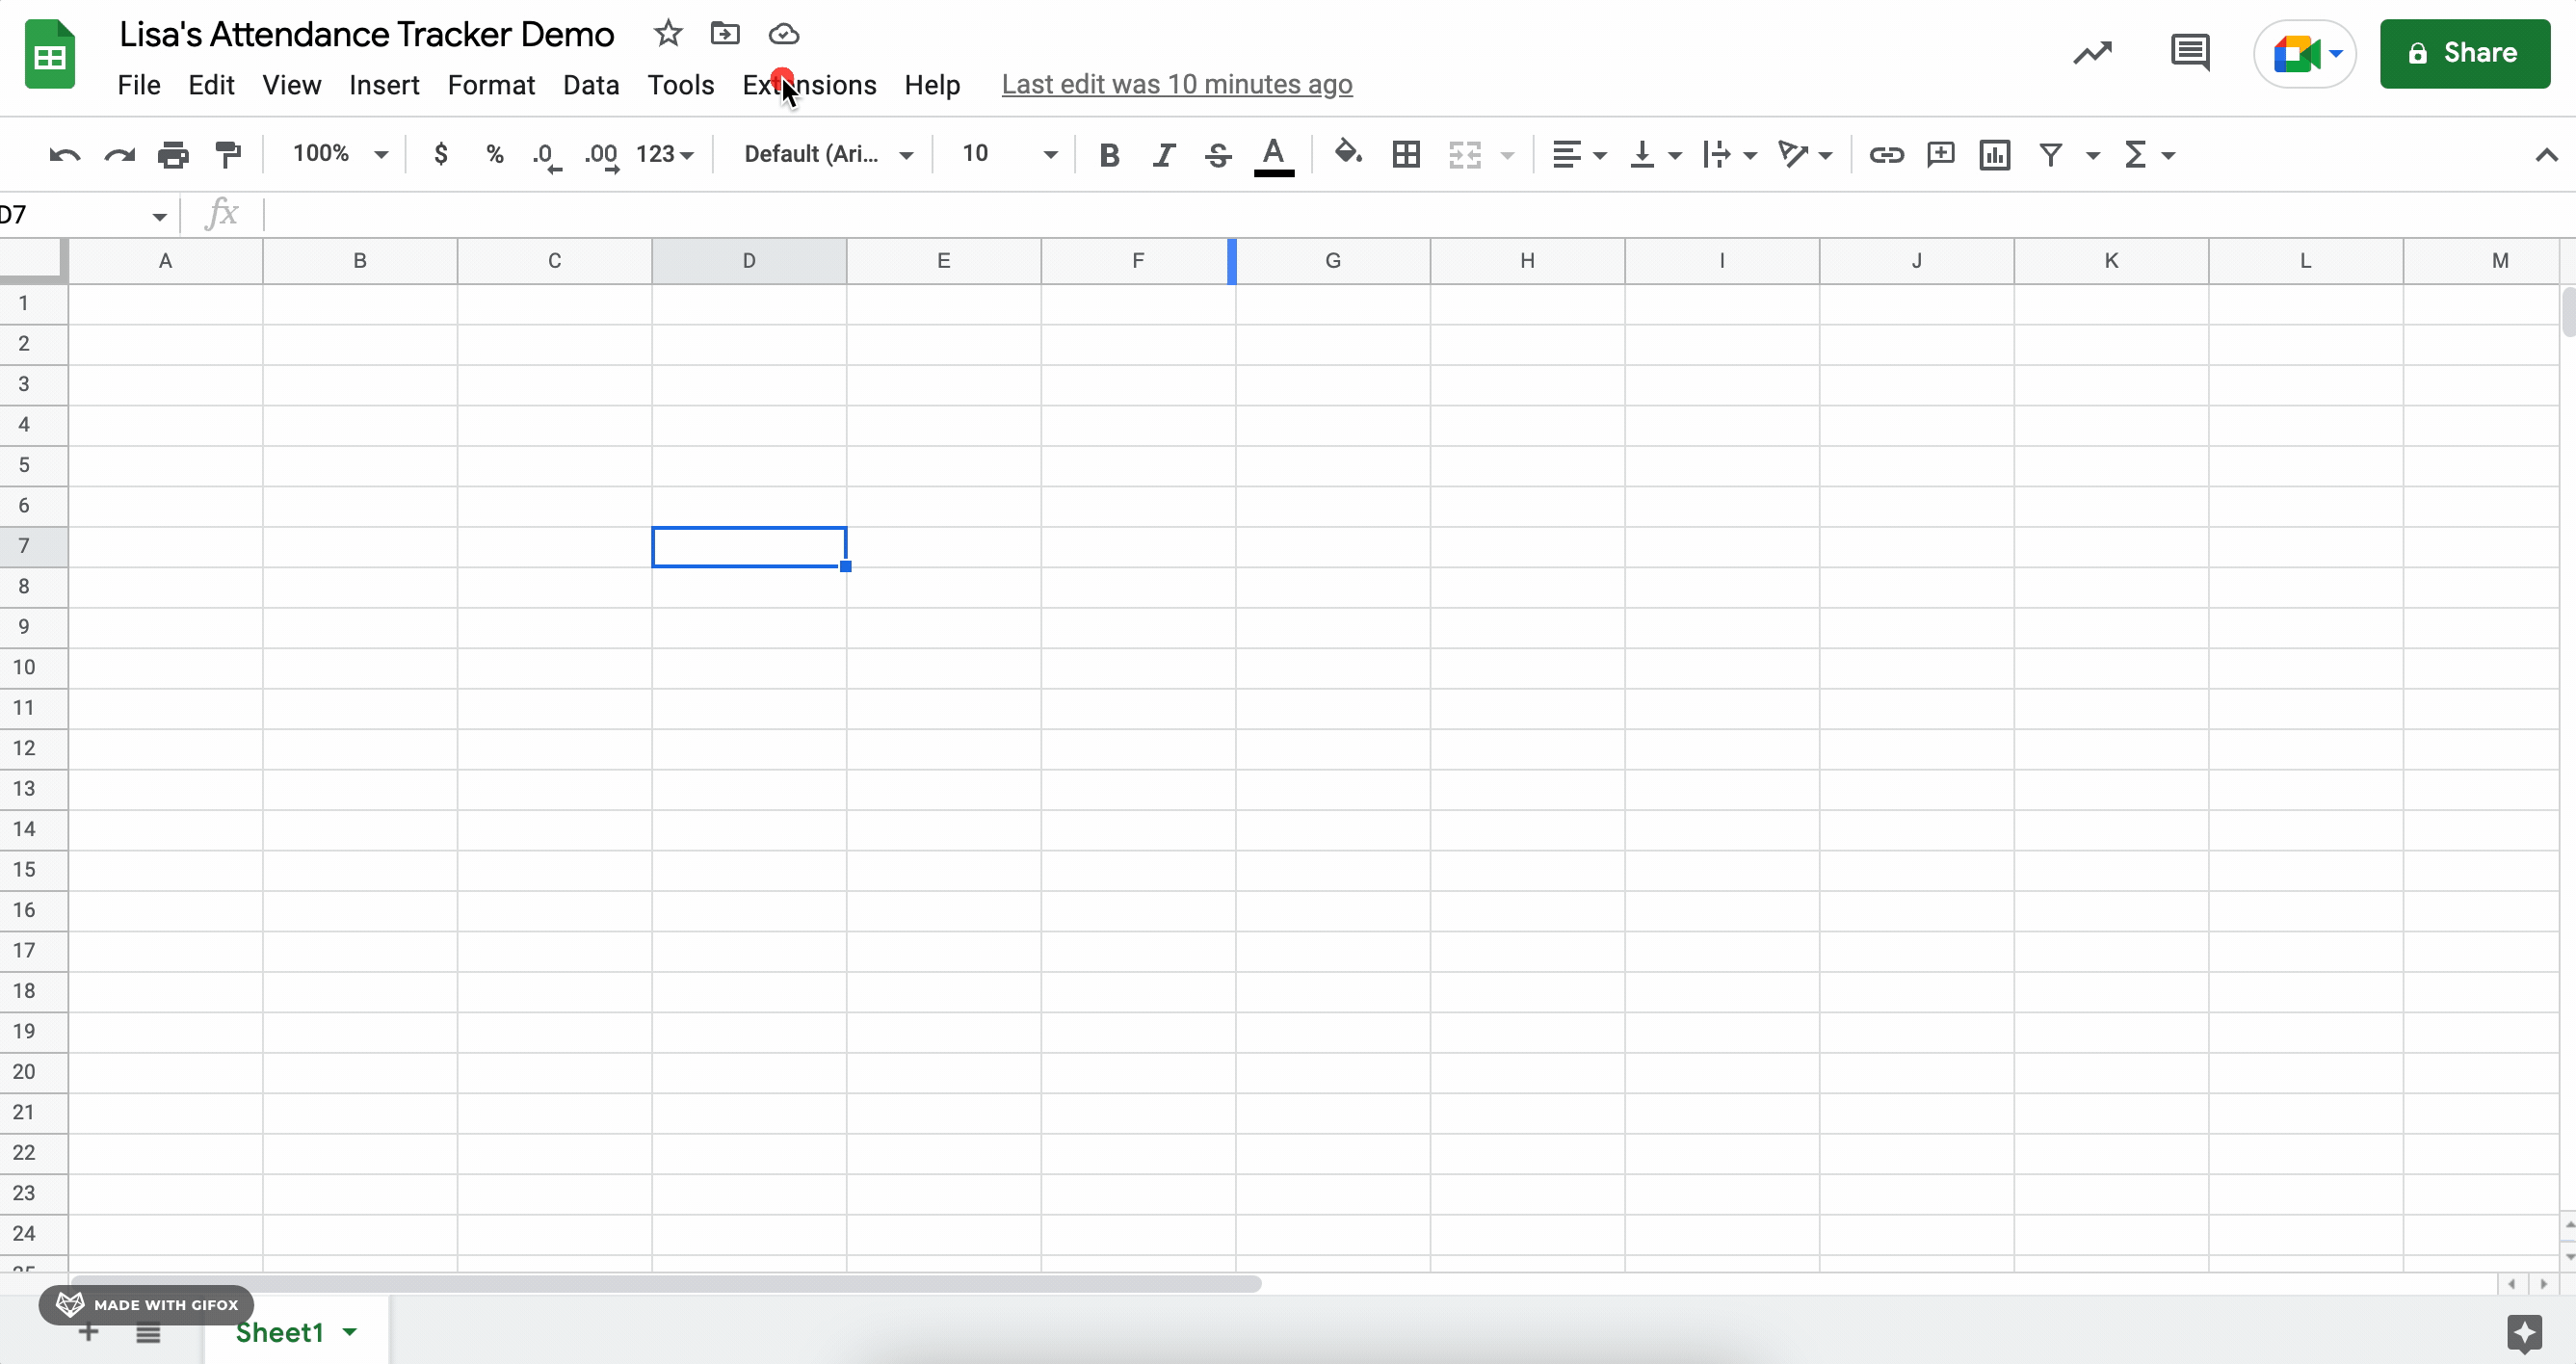
STEP 2: ACCESS RIBBON TRACKER IN GOOGLE SHEETS
Once you have installed, create a new Google Sheet and give the spreadsheet a name. Go to Extensions > Ribbon Tracker > Configure Dashboard.
If you have not yet connected your Zoom account, you will select Zoom and do so now.

STEP 3: BUILD YOUR ROSTER
Once you have connnected your Zoom account, you are now ready to build your Roster. You will notice a new tab called ‘Zoom Details’ and a sidebar screen open up. Follow the instructions on the sidebar to set up your Class Roster.

Error
STEP 4: CONFIGURE DASHBOARD
Once your Roster is built, you can configure your dashboard. You tell us which upcoming meetings you want to track attendance for. We automatically display upcoming four but you can manually add a meeting ID. You can also configure your late status.
STEP 6: CHECK YOUR EMAIL
You're done! Your personal BFT Tracker for your class is now being processed and you should receive it in your inbox shortly.
If you have any questions or run into any issues, we're here to support@builtforteachers.com.

STEP 5: RUN DASHBOARD
Next time you have your meeting, you simply need to go to Extensions > Ribbon Tracker > Run Dashboard to access real-time attendance data for your group of learners.
